Hey, How you doing??? Today I will guide you in building your first ever django application, so lets get started.
To start working with django, Python is required. Incase you don't know, django is a web framework built on python.
To install Python visit https://www.python.org/downloads/
You can verify that Python is installed by typing python from your shell.
Now lets install Django
Open up your terminal and type in
pip install django
Boom, you have django installed but lets verify if it is actually installed, in your terminal type
>>> import django
>>> print(django.get_version())
3.0
Already now lets create our first app
Creating a project If this is your first time using Django, you’ll have to take care of some initial setup. Namely, you’ll need to auto-generate some code that establishes a Django project – a collection of settings for an instance of Django, including database configuration, Django-specific options and application-specific settings.
From the command line, cd into a directory where you’d like to store your code, then run the following command:
django-admin startproject mysite
This will create a mysite directory in your current directory. If it didn’t work, see Problems running django-admin.
Note
You’ll need to avoid naming projects after built-in Python or Django components. In particular, this means you should avoid using names like django (which will conflict with Django itself) or test (which conflicts with a built-in Python package).
Where should this code live?
If your background is in plain old PHP (with no use of modern frameworks), you’re probably used to putting code under the Web server’s document root (in a place such as /var/www). With Django, you don’t do that. It’s not a good idea to put any of this Python code within your Web server’s document root, because it risks the possibility that people may be able to view your code over the Web. That’s not good for security.
Put your code in some directory outside of the document root, such as /home/mycode.
Let’s look at what startproject created:
mysite/ manage.py mysite/ init.py settings.py urls.py asgi.py wsgi.py
These files are:
The outer mysite/ root directory is a container for your project. Its name doesn’t matter to Django; you can rename it to anything you like. manage.py: A command-line utility that lets you interact with this Django project in various ways. You can read all the details about manage.py in django-admin and manage.py. The inner mysite/ directory is the actual Python package for your project. Its name is the Python package name you’ll need to use to import anything inside it (e.g. mysite.urls). mysite/init.py: An empty file that tells Python that this directory should be considered a Python package. If you’re a Python beginner, read more about packages in the official Python docs. mysite/settings.py: Settings/configuration for this Django project. Django settings will tell you all about how settings work. mysite/urls.py: The URL declarations for this Django project; a “table of contents” of your Django-powered site. You can read more about URLs in URL dispatcher. mysite/asgi.py: An entry-point for ASGI-compatible web servers to serve your project. See How to deploy with ASGI for more details. mysite/wsgi.py: An entry-point for WSGI-compatible web servers to serve your project. See How to deploy with WSGI for more details. The development server¶ Let’s verify your Django project works. Change into the outer mysite directory, if you haven’t already, and run the following commands:
py manage.py runserver
You’ll see the following output on the command line:
Performing system checks...

System check identified no issues (0 silenced).

You have unapplied migrations; your app may not work properly until they are applied.
Run 'python manage.py migrate' to apply them.

June 24, 2020 - 15:50:53
Django version 3.0, using settings 'mysite.settings'
Starting development server at http://127.0.0.1:8000/
Quit the server with CONTROL-C.
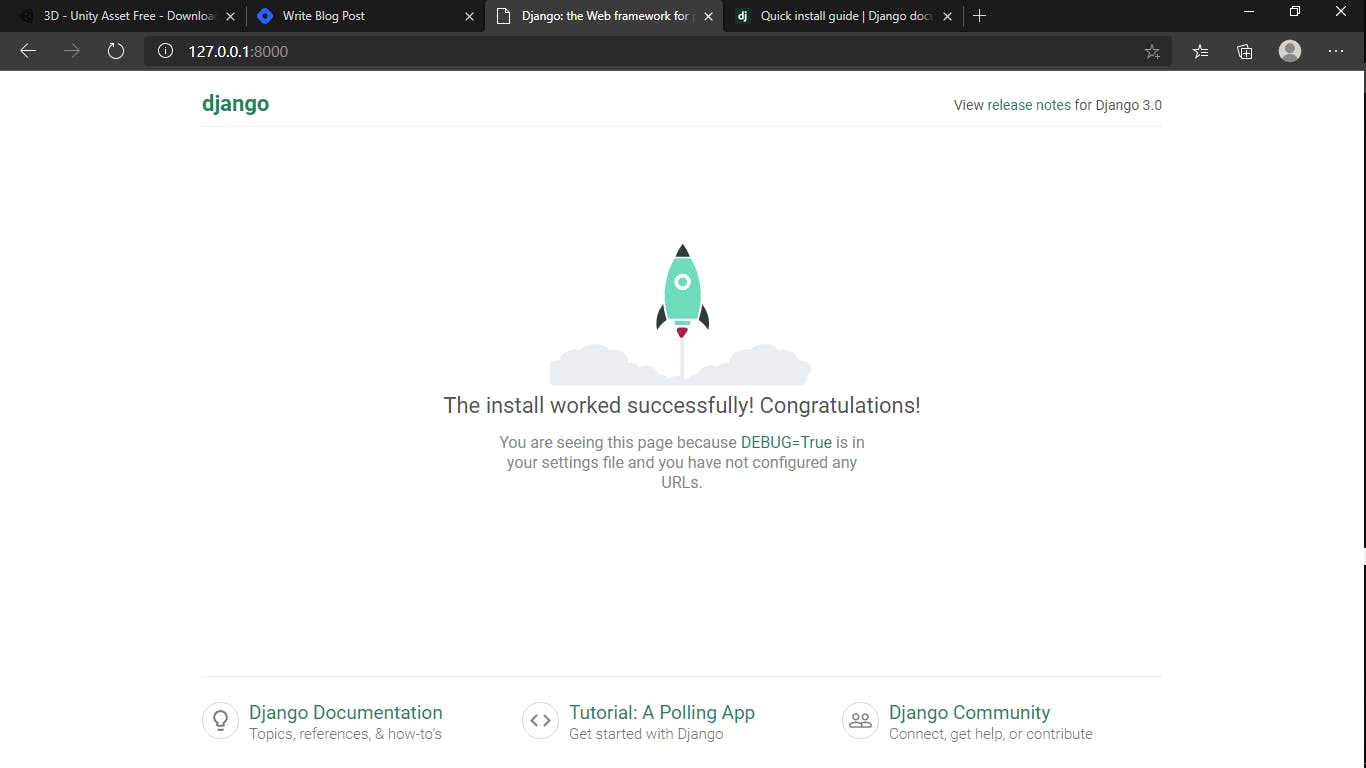
Boom and now should be having this

you just wrote your first django application, need to learn more???
then visit the Official website
